Refinishing a Hoosier Cabinet
I’ve always liked old things. When I found this hoosier cabinet on FB Marketplace I jumped at it. I was so happy and excited that I got such a score! It had been in the same family since the 1920s and was in pretty good condition. Thankfully it wasn’t in a barn or something and the structure was sound. We knew it was going to be a good bit of work refinishing a hoosier cabinet, but it was worth it!
This post may contains affiliate links, which means I make a small commission at no cost to you. See my full disclosure here.
History of the Hoosier Cabinet
Companies started production on the hoosier cabinet in 1898. The McDougall Company claims their hoosier cabinets were “the first kitchen cabinet.” Up until between 1930-1940s homes didn’t have built in cabinets in their kitchens. The hoosier was made to help homemakers save time and energy by using the hoosier to store all the kitchen essentials in one place. Complete with flour bin, spice jars, places for pots and pans, utensils, bread drawer, and even a pull out workspace. It really is a neat piece of furniture!

The Charm and History of our Hoosier
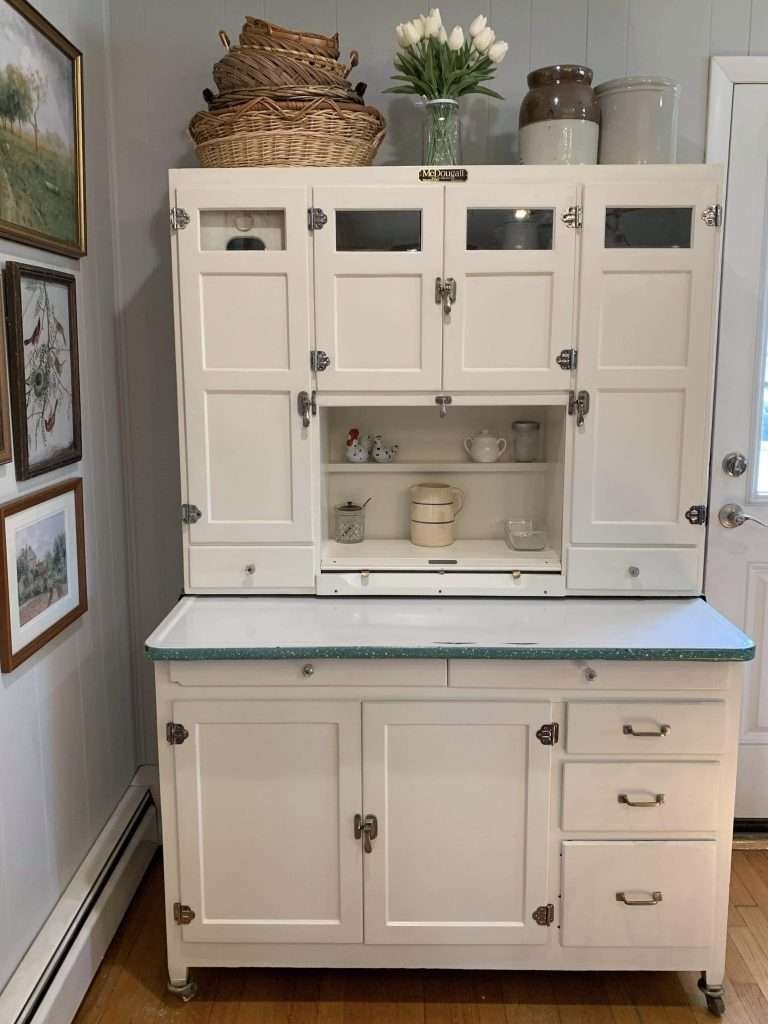
The Hoosier just needed cleaned up, repainted, and a few pieces of missing hardware. The glass in the upper cabinets had been painted by the owners grandmother with yellow roses. It was so quaint and a really neat part of it’s story, but it was in rough shape with parts scratched off and I didn’t know how to save it, so we ended up deciding to scrape it all off and go with clear glass panes. It’s so neat to think about how this was probably the heart of the kitchen for a fellow homemaker a long time ago and now I get to enjoy it. There was even receipts, a recipe, and a report card dating back to 1930 tucked under the tambour door. So neat to get a sneak peek back in history.

Steps to refinish furniture
- Clean thoroughly
- Use paint stripper if paint needs repaired
- Sand to create smooth surface for paint
- Prime
- Paint
- Seal
Starting the Process
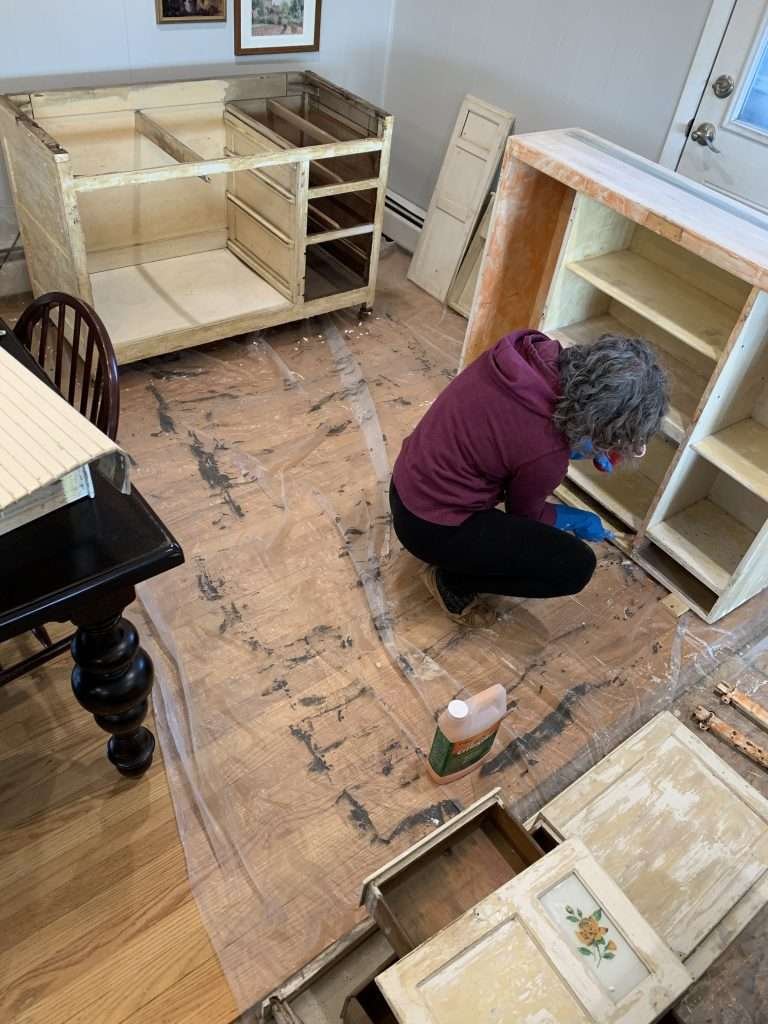
We started refinishing our hoosier with a very good scrubbing. It had a good bit of duck tape residue on it. After we cleaned it we started stripping the old paint with CitriStrip. I really like using Citristrip. It doesn’t have the harsh chemical smell and it’s non-toxic.
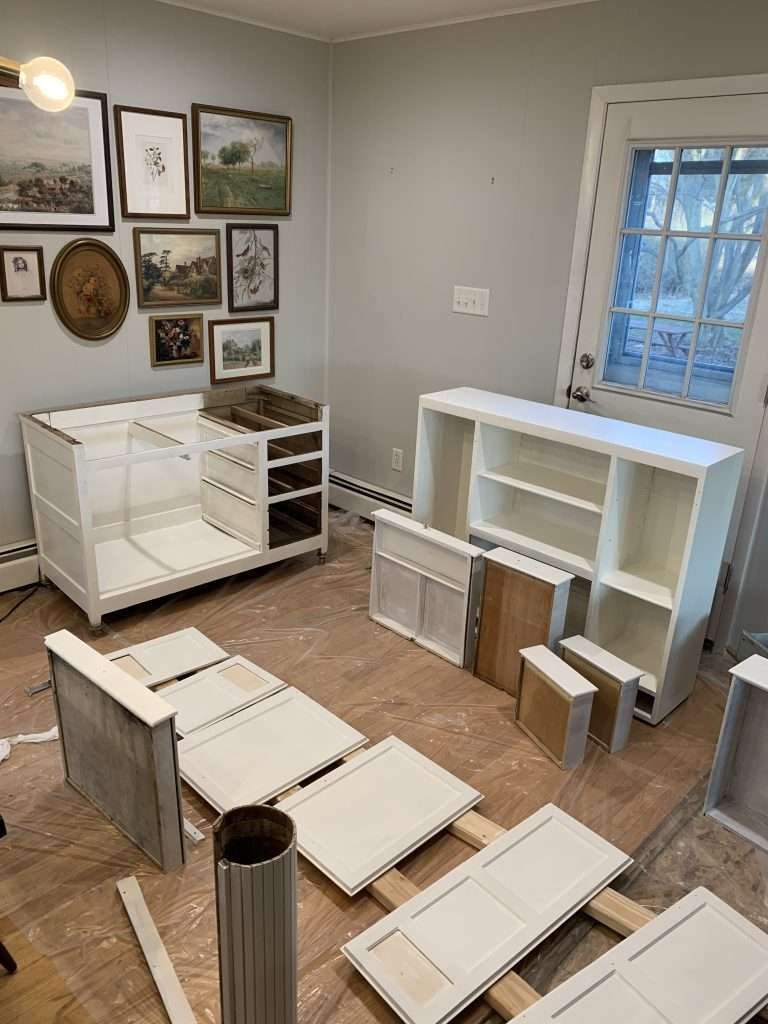
We were not sure if the paint was original until we started stripping it. After getting down to the wood on the Hoosier, we found that it must have been painted originally. It was definitely made of poplar from the tell tale green tint of the wood. So, we decided to go ahead and repaint the original creamy color. I wanted to restore this cabinet to it’s original glory as much as possible and I was in the end very glad it had been originally painted since I love the light, airiness of the creamy color.
What kind of paint to use?
I love the look of milk paint with it’s more matte finish. It just has an older look. I did some research and I choose General Finishes Milk paint. It was very easy to work with and easy clean up. It’s water based, premixed, and made in the USA. We choose to do a custom color: 50% Alabaster and 50% Linen paint colors. I used foam brushes and rollers and it went on nice and smooth. We did 3 coats and lightly sanded in-between coats with fine grit sanding sponges. Then we sealed it with two coats of Generals Finishes High Performance Topcoat in Satin. The sheen is super subtle and I like the extra protection. If you use a brighter white, the topcoat can yellow. We did not experience that with our custom color. We have noticed the top coat yellowed slightly on our kitchen island that we used General Finishes Milk Paint in Antique White, though.
Replacing Antique Hardware
Our Hoosier had several broken hinges. Thankfully, we were able to find some reproduction hardware to replace them. We found them at Kennedy Hardware. We also bought some Nickel Ager & Darkening Solution to make them look aged to match all the other hardware. I’m very happy with how that turned out.

Finished Project
It took me a couple of weeks to get everything cleaned up and repainted. My husband helped me with the hardware as it was a bit tricky to get them all lined up and level. We had to fill some old holes with wood glue and toothpicks and drill new holes.
Overall, it went very smoothly! We were lucky in finding a structurally sound hoosier that didn’t need any rebuilding. All the refinishing was mostly cosmetic. And now we get to enjoy it in our home and hopefully pass it down for many generations. Wonder which one of my boys will want it???
I’ve been toying with the idea of bringing a Hoosier cabinet to my vintage kitchen. My grandmother’s kitchen had a Hoosier Cabinet that came with an ingenious pullout stool that she could seat on for working on her many baking and cooking tasks. It literally was a rectangular frame that pulled out for use and then nestled back in between the frame and lower drawers. My grandfather had built it all for her from scratch. It had been more compact than most, but super functional. Sadly after grandmother passed away, it was demolished to make way for a modern kitchen. So I’ve thought it’s probably more a nostalgia thing for me, than functional. But seeing your article helped me envision a practical, high utility for it. I know I’m not likely to find one with a pullout stool and extendable work bench, like my grandmother’s was. But I can see having one to be a dedicated, preserving, fermenting and baking station. I would need to run an electric circuit in so I can plug in my breadmaker, mixer, pressure cooker, among other needed appliances. And probably modify a little to suit the types of items I’d keep there. Thank you for the inspiration! Enjoy your beautiful Hoosier cabinet!
That sounds like a very special Hoosier that your grandfather built for your grandmother! I love your ideas of modifying a Hoosier Cabinet to work in very practical ways for you. They are very special pieces and it’s great when we can have the nostalgic also be practical and useful in our homes. I hope you find a Hoosier for your vintage kitchen to love!
Beautifully done! I’m currently in the process of refinishing my great grandmother’s Hoosier cabinet as a gift for my daughter. All wood pieces have been stripped, sanded and primed. My question is how best to clean/finish the metal drawers as well as the flour bin. It looks like the flour bin had been painted at some point in the past. Do I use stripper to remove that paint or just lightly sand it. Thanks in advance!
That’s so special you can pass that on to your daughter! I left my flour bin painted. But if I wanted to remove the paint from the metal pieces, I would use Citristrip to strip the paint off. That should work in removing the paint. Hope it works out!
I found this when looking for articles on refinishing a Hoosier. I have so many memories of sitting at my grandmothers and helping her prepare to bake. I loved the flour sifter, playing with the rolling door and that the metal table top could extend. I can’t believe I didn’t break it when I was playing with them as a little girl. My father was in the middle of redoing my grandmothers for his home when he became ill and could not finish it. We moved in with my father has his stroke, he has since passed, but we have remained in his home. This post has given me the desire to not just finish the project, but to bring it up and use in the kitchen versus where he was going to use it as a side piece the basement den.
Alissa,
You were so lucky to get an original and complete cabinet! The McDougall cabinet that we bought forty years ago turns out to be a bit of a Frankenstein’s monster. The cabinet doors were from a different brand of cabinet and cut down to fit. A full panel of glass was inserted instead of oak plywood. I have decided to make new doors for the cupboard but I need to know the size of the glass insert that is in the top of each door. I don’t know of anyone near me that has a McDougall cabinet to use as a reference. Could I bother you to measure that opening on your cabinet doors and let me know? I would love you forever! ; )
Thank you,
Tina
Hi Tina,
That’s so funny about your Frankenstein’s monster! I’m impressed you are going to make your own cabinet doors! The opening for the glass inserts is 7 5/16 inches by 3 3/4 inches on the inside of the door and 7 5/16 inches by 3 1/4 inches on the front of the door. I hope that is helpful and good luck with your McDougall. They really are special pieces!
Alissa
Thank you, thank you, thank you!