Homemade Pop Tarts Made With Sourdough Pie Crust
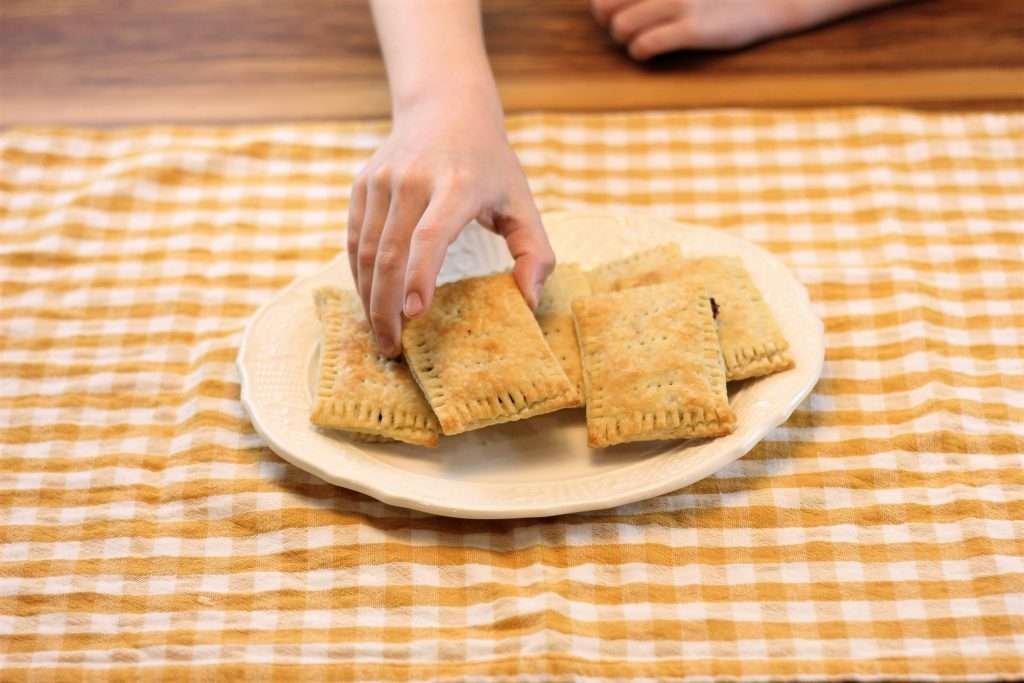
Why buy processed junk when you can easily make it at home? OK, we aren’t really going to make “processed junk,” but we are going to make homemade pop tarts made with sourdough pie crust! It’s so much better than store-bought pop tarts!

This post may contains affiliate links, which means I make a small commission at no cost to you. See my full disclosure here.
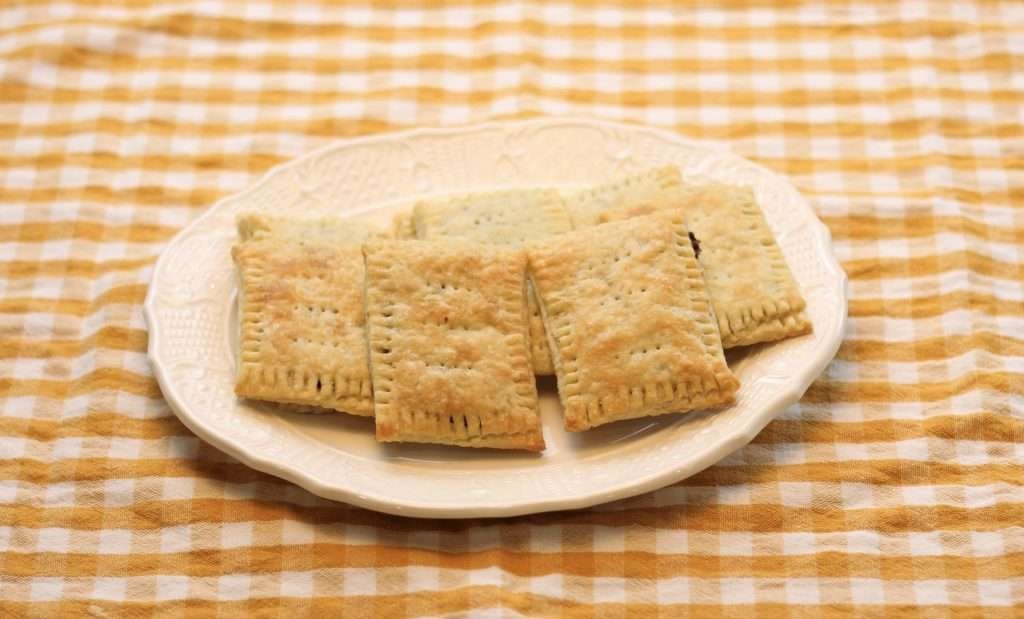
These Homemade Pop Tarts made with sourdough pie crust are so good! The crust is buttery and flaky and has the added benefits of sourdough! Add your favorite topping and enjoy homemade pop tarts!
What Kind of Filling Can You Use In Homemade Pop Tarts?
There are a lot of different fillings you can use. My kids’ current favorite is Nutella, but some other options are your favorite jam, cinnamon and sugar, or chocolate filling (like the one in my homemade chocolate pop tart recipe.)
Ingredients you’ll need for this recipe

Tools You Will Need
- Pastry Cutter (or Cheese Grater or Food Processor)
- Rolling Pin
- Bench Scraper
My favorite tool for cutting in butter in a pastry dough is the pastry cutter. It’s what I’ve always used and I feel it gives the best results for incorporating the butter without making it too warm. You can use a cheese grater if you freeze your butter beforehand. Some people prefer this method. The food processor can also be used to cut the butter into the flour, but you have less control over the butter mixture. It can be easily over-blended.
Do I really need to use Sourdough Discard? What alternatives are there?
You do not need to use sourdough starter discard in this recipe. If you want to make it without the sourdough add 1/2 cup more flour and 1/2 cup of cold water.
Did you know?
Sourdough discard is a great source of probiotics and is great for your gut!

Importance of Using Cold Ingredients
It is very important to use cold butter when mixing the butter into the flour. You want to combine the butter evenly with the flour, but you still want to have the butter as separate lumps in your mixture. This is what makes the flaky layers. The separate lumps allow the butter to form layers in the dough as it melts into the dough during the bake.
If your butter is room temperature or too soft, it will start to melt into the flour and make your pastry dough really hard to work with and tough after it is cooked.
If your find that your dough is getting sticky when you are working with it, your butter is starting to melt. You should have your dough on a floured surface and use a floured rolling pin, but avoid adding more flour to the dough, as this will make your dough more dense. Instead, wrap your dough with cling wrap and place it in the refrigerator for about 30 minutes.

Tips For Sealing Homemade Pop Tarts Made With Sourdough Pie Crust
Make sure you don’t skip the egg wash on the dough before you fold the top over on the filling. This seals the pop tarts and helps to make the filling not ooze out of the pastry as it’s cooking. Crimping it with a fork also helps! I have found that I can get away with not sealing with an egg wash if I use Nutella as my filling, but I always use an egg wash for all other fillings!

How to make Homemade Pop Tarts Made With Sourdough Pie Crust
- In a large bowl combine dry ingredients (flour, sugar, and salt.) Cut in the cold butter with a pastry cutter into the flour mixture until the butter is in small pieces, about the size of peas.
- Combine sourdough discard, egg, and cold water. Then add to flour mixture. Stir until loose pastry dough. Turn out onto a lightly floured surface and work it into a ball. Depending on how dry your dough is, you may need to add another tablespoon of water of two. Temperature and how you measure out your flour can affect how dry your dough is. I scoop and level my flour measurements.
- Wrap in a piece of plastic wrap and chill for about 30 minutes.
- After the dough has chilled, roll out your sourdough pie dough into a large rectangle (about 16×20 inches) on a floured work surface with a floured rolling pin. I cut all around the edges to make it straight. You can either take all the scraps and roll them out and make more pop tarts or you can just sprinkle them with cinnamon and sugar and make cinnamon sticks!
- Cut pie dough in half with a bench scraper or sharp knife. Next cut strips about 3 inches wide for your pop tarts.
- Put a rounded Tablespoon of the filling on each bottom half of the pop tart and spread out on about half of the pre-cut pop tart, leaving room to seal all the edges.
- Brush all edges with egg wash to seal the edges. Fold over the top of pop tart onto the filling. Press the edges down and then use the tines of a fork to crimp the edges. Place on a baking sheet lined with parchment paper or a silicone mat. Bake in 400 degree preheated oven for 15 minutes, until they start turning golden.
- Place on a cooling rack to cool. Enjoy
Find the measurements and full recipe below!
Add a Glaze
If you want to get fancy, you can make a vanilla glaze to spread on top of the pop tarts after they have cooked. Then top with some sprinkles! To make the glaze combine 1 cup of powdered sugar, 1 teaspoon of vanilla extract, and 2 Tablespoons of milk.

For even more delicious recipes, you may like these:
Homemade Pop Tarts Made With Sourdough Pie Crust

Ingredients
- 3 1/2 cups all purpose flour
- 3 Tablespoons sugar
- 2 teaspoons salt
- 1 1/2 cups butter
- 1/2 cup sourdough discard or active
- 1 egg
- 2-3 Tablespoons of ice water
- 1 Tablespoon Filling of choice per pop tart
- egg wash – 1 egg with 1 Tablespoon water
Instructions
- In a large bowl combine dry ingredients (flour, sugar, and salt.) Cut in the cold butter with a pastry cutter into the flour mixture until the butter is in small pieces, about the size of peas.
- Combine sourdough discard, egg, and cold water. Then add to flour mixture. Stir until loose pastry dough. Turn out onto a lightly floured surface and work it into a ball. Depending on how dry your dough is, you may need to add another tablespoon of water of two. Temperature and how you measure out your flour can affect how dry your dough is. I scoop and level my flour measurements.
- Wrap in piece of plastic wrap and chill for about 30 minutes.
- After dough has chilled, roll out your sourdough pie dough into a large rectangle (about 16×20 inches) on a floured work surface with a floured rolling pin. I cut all round the edges to made it straight. You can either take all the scraps and roll them out and make more pop tarts or you can just sprinkle them with cinnamon and sugar and make cinnamon sticks!
- Cut pie dough in half with a bench scraper or sharp knife. Next cut strips about 3 inches wide for your pop tarts.
- Put a rounded Tablespoon of the filling on each bottom half of the pop tart and spread out on about half of the pre-cut pop tart, leaving room to seal all the edges.
- Brush all edges with egg wash to seal the edges. Fold over the top of pop tart onto the filling. Press the edges down and then use the tines of a fork to crimp the edges. Place on a baking sheet lined with parchment paper or a silicone mat. Bake in 400 degree preheated oven for 15 minutes, until they start turning golden.
- Place on a cooling rack to cool. Enjoy
Did you make this recipe?
Mention us @pursuitofhomemaking or tag us using #pursuitofhomemaking so we can see your creations! You can also leave a comment below!


