DIY Raised Garden Beds
Building raised garden beds is very simple. It’s the perfect weekend DIY project. Have you ever wanted to live on a farm and have your own animals and grow your own food? I think many people think that would be so great and even fun! Maybe it really isn’t “fun,” but it sure does sound neat! Well, having my own little garden in our backyard is as close as I’ll get to a farm, I think.
This post may contains affiliate links, which means I make a small commission at no cost to you. See my full disclosure here.
Even if you don’t have tons of land, you can still grow your own produce. Raised beds are great for compact spaces.
Things to Consider When Building Raised Garden Beds
We have a lot of critters (deer and rabbits) that come through our yard so we needed a fenced in area. If you are also in an area like this, you will need to think about how you will be protecting your plants.
You don’t want to plant all your vegetables and then end up with them being eating by something other than you and your family. I mean, bunnies and deer are cute and all, but I’d rather them find food elsewhere!
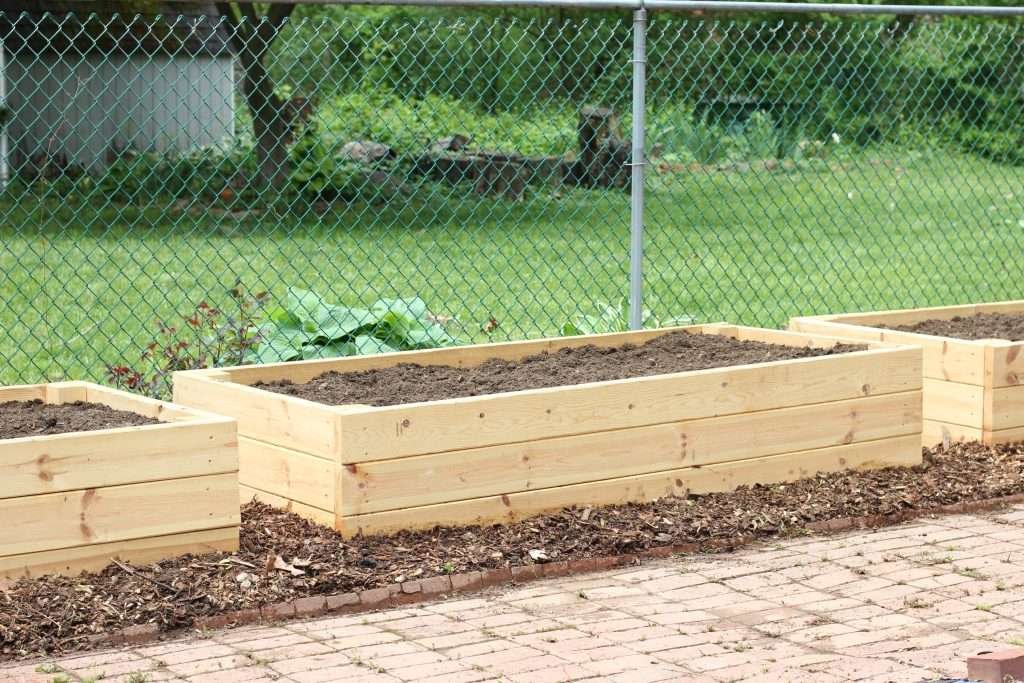
You can opt for fencing in your area, putting it in an existing fenced area, or you can put garden netting over your plants. We have a garden area in our already enclosed pool area that we are using. So once you figure out where you will be putting your raised beds, make the boxes fit your designated area.
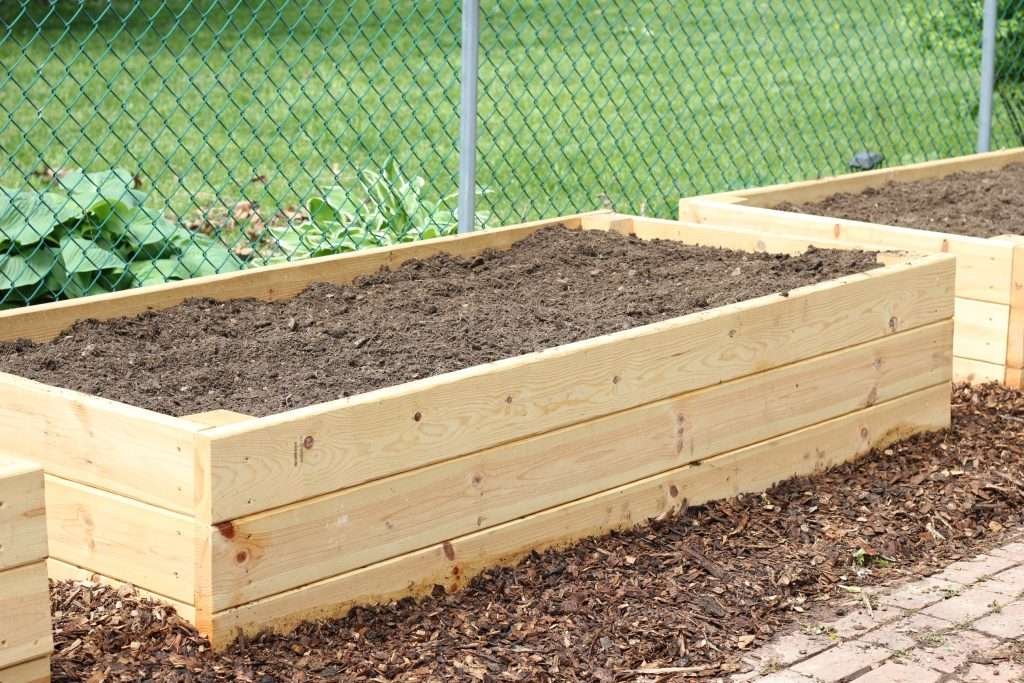
We built our raised garden beds to be 3’ x 7.5’ to fit our area. You don’t want to make your beds too wide since you will be needing to tend into the middle of the beds. So make sure you will have easy access to every area of the bed when you are planning your measurements. Optimal height for raised beds is about 16-18 inches high.
How to Make a Raised Garden Bed Step by Step
Materials Needed
Step by Step Instructions
Step 1: Once you have your measurements planned, start cutting your lumber. You will need four 4×4 for each box. We used three 2x6s for each side of the bed. The width of each 2×6 is actually 5 1/2 inches. So each corner 4×4 post we cut to 16 1/2 inches. Next you will need to cut the 2x6s to the length and width of your desired box. We did 3 feet for the ends and 7 ½ feet for the length.

Step 2: When you have all your boards cut, start screwing in the shorter end boards to the corner posts.

Step 3: After you have both ends assembled, stand them up and set the side boards one and a time on top and screw them on.

Step 4: Flip it over after you have finished one side, and do the same on the other side.

And there you have it! It’s very easy and quick to assemble raised garden beds! Now place them in your prepared garden area… preferably in a location that gets 6-8 hours of sun for more vegetables.
My Favorite Supplies
Here are some of the supplies that we used when making this project!
Chop Saw
Great tool to have if you do a lot of diy projects! Quick, easy cutting!
Measuring Tape
This is essential! Measure twice, cut once, right?!
Power Drill
This is also essential when needing to screw long screws in to thick boards. If you did this by hand, it may take all week to get the screws in.

How to Prepare Your New Raised Garden Beds for Your Plants
Before setting the boxes in place, lay landscaping fabric down to help reduce weeds. Place the box on top. We also put cardboard in the bottom of the box. This will also help with weeds and it will break down over time and produce compost. Next, we put leaves and wood chips as filler. Finally, we added the soil. Now we are ready to plant!!

Answers to Your Questions About Making Raised Garden Beds
What kind of lumber is best for raised Garden beds?
Most importantly, you want your lumber to be untreated. You don’t want any of the chemicals used in the treatment processes of lumber to get soaked into your soil and then in your plants! Cedar is the most durable and will hold up the longest, but it is much more expensive. We opted for a thicker untreated pine, hoping it will prolong the life of the boards with them being thicker.
Do you need to fill the whole box with dirt?
No, there is no need to fill the whole box, unless it is a shallow box. You should have at least 8-12 inches of dirt. If your box is taller than that, fill it with other natural materials that will break down over time like leaves or sticks.
What kind of dirt should you use in raised garden beds?
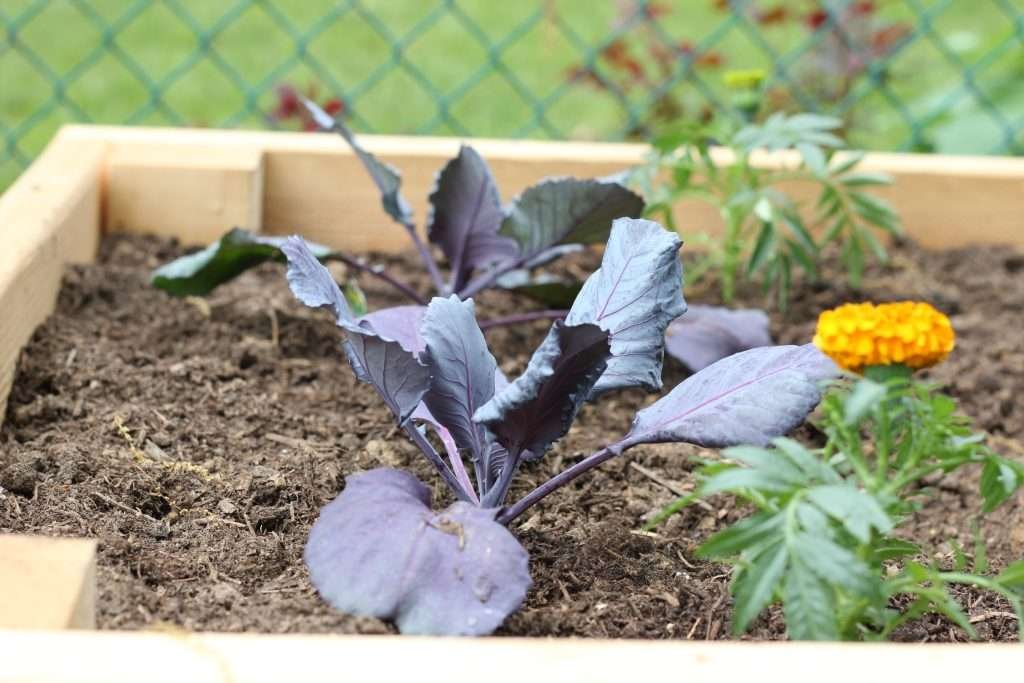
Raised beds need loose, well draining soil. Compost and peet moss or topsoil are good options. We got a mixture of topsoil, mushroom soil, and shredded compost from a local farmer.
If you loved this project, you’ll love these projects too:


Did you make this project?
We would love to see what you have created so mention us @pursuitofhomemaking or tag us using #pursuitofhomemaking so we can see your creations!